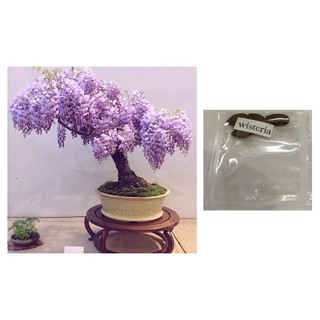
Sell bonsai wisteria mixed colors flower tree seeds best price
4.7
2k
ratings
4k
sold
₱50
| Ships from | Quezon City, Metro Manila |
|---|---|
| Variation | Mix colors Red Blue White Yellow Pink Violet |
Product Description
wisteria
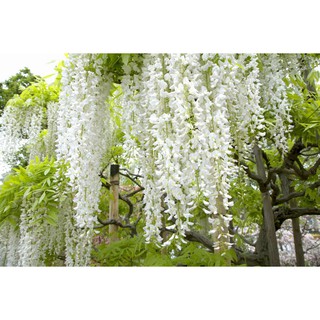
Wisteria is a deciduous, woody vine known for its drooping clusters of white, lavender, bluish-purple and pink flowers. Flowers appear in the spring and are extremely fragrant. Long, pea-like pods containing seeds appear after the plant is finished blooming. Wisteria seeds will germinate if given the proper care, but the resulting plants may not be true to the parent plant due to open pollination.
Place the dried wisteria seeds on a flat surface. Scratch the outside seed coat two or three times on each side using a sharp knife. Do not cut deeply into the seed.
2
Fill a bowl with 1-cup warm water. Drop the seeds into the water. Push on any floating seeds gently with your finger to submerge them. Leave the seeds to soak for 24 hours.
3
Place 4-inch plastic pots on a flat work surface, setting out one pot for every seed you intend to plant. Pour seedling potting mix in each pot, leaving a 1/2 to 3/4 inch of space between the soil level and the top of the pot. Tamp down the potting soil firmly in each pot.
4
Fill each pot with water two or three times to moisten the soil. Allow any excess water to drain from the holes in the pots' bottom.
5
Pour the seeds and water into a strainer to discard the water. Place one seed on the soil in the center of each pot. Cover each seed with a 1/4-inch layer of potting mix. Moisten the top layer of soil in each pot using a misting nozzle connected to the garden hose or a spray bottle.
6
Cover a pot with a square of plastic wrap. Pull the sides of the plastic wrap down over the sides of the pot. Place a rubber band around each pot to hold the plastic wrap's edges in place. Repeat this process with each pot.
7
Place the pots in an area that receives bright, indirect sunlight. Choose a room with constant temperatures between 70 to 75 degrees. Position the pots away from heating or cooling vent, fireplaces, heaters or air conditioners.
8
Check the pots every two or three days for signs of moisture loss. Remove the plastic wrap when the top layer of soil looks dry. Mist the soil with the misting nozzle or spray bottle. Replace the plastic wrap. Keep the soil evenly moist, but never soggy.
9
Remove the plastic wrap from its pot when a seedling appears above the soil level. Water the soil when the top 1/2-to-1-inch begins to dry.
10
Transplant the seedlings into 6-inch plastic pots full of potting soil, one plant per pot, when they develop two to three sets of leaves. Fertilize the seedlings weekly with a 10-10-10 nitrogen, phosphorous, potassium fertilizer at a rate of 1 teaspoon per gallon of water. Water seedlings when the top 1 to 2 inches of soil becomes dry.
11
Place the wisteria starts outdoors in direct sunlight during the morning hours only. Increase the amount of outdoor time and direct sunlight exposure each week. Transplant the wisteria starts outdoors once they are 12 inches tall and used to being outside all day and night.
4 seeds


